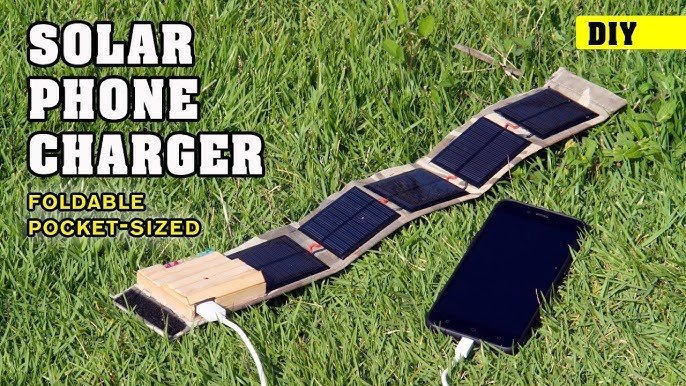

Introduction
India faces frequent power cuts in many areas, especially in rural and semi-urban regions. At the same time, more people are looking for ways to reduce their electricity bills and go green. A solar-powered phone charger is the perfect small-scale renewable energy project. You can make it over a weekend, using affordable parts available online or at your local electronics store.
This article explains how to build a DIY solar phone charger that is portable, eco-friendly, and suitable for Indian conditions.
Why Build a Solar Phone Charger?
Benefits for Indian Homes:
- Reliable backup during power cuts
- No electricity cost — runs on solar energy
- Portable and ideal for travel
- Great for learning basic electronics
- Reduces dependency on grid electricity
Essential Components and Tools
Before you start, gather these items:
- Solar Panel – 6V or 9V, 3 to 5 Watt
- Rechargeable Battery – 6V lead-acid or 18650 lithium-ion battery
- Diode (IN4001 or similar) – to prevent reverse current
- DC-DC Buck Converter – regulates voltage to safe 5V for USB charging
- USB Charging Port/Module – to plug in your phone
- Soldering Iron and Wire – for clean and permanent connections
- Multimeter – to check voltage levels
- Small Enclosure Box (optional) – to protect the setup
- Wires, Heat Shrink Tubing, Insulation Tape – for secure wiring
Also Read How to Calculate Your Home’s Solar Power Needs in India
Step-by-Step Guide to Build Your Solar Charger
1. Connect the Solar Panel to the Battery
- Solder the positive terminal of the solar panel to one side of the diode.
- Connect the other side of the diode to the positive terminal of the battery.
- Connect the negative terminal of the panel directly to the battery’s negative.
This step stores solar energy in the battery.
2. Add the Voltage Regulator
- Connect the battery output to the DC-DC buck converter.
- Set the output voltage to 5V using the small adjustment screw (if required).
- This will ensure your phone receives a safe charging voltage.
3. Attach the USB Charging Module
- Solder the output wires from the buck converter to the USB module.
- Check the polarity (positive and negative terminals).
- Use heat shrink tubing or insulation tape for safety.
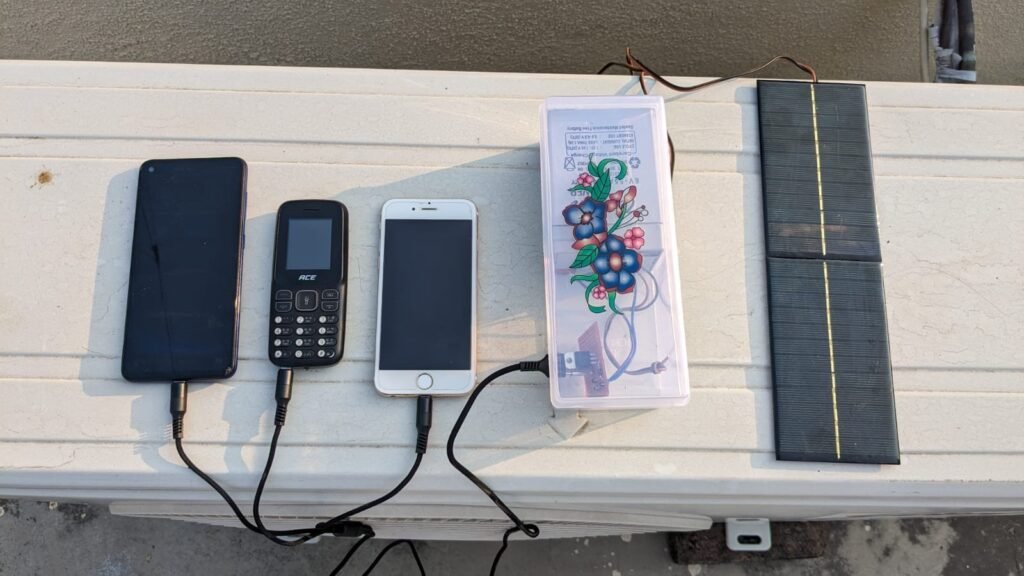
4. Test the Setup
- Put the panel in full sunlight.
- Use a multimeter to measure output voltage at the USB port — it should be close to 5V.
- Plug in your phone to check if it starts charging.
Tips for Best Performance
- Use a solar panel with at least 5W capacity for reliable charging.
- Place the panel in full sunlight — typically between 10 AM and 4 PM in India.
- Use lithium-ion batteries for longer life and faster charging.
- Keep your system protected in an enclosure if you plan to use it outdoors.
- Charge your phone during peak sunlight hours for best results.
Cost Breakdown (Estimated in INR)
| Component | Approximate Cost |
|---|---|
| Solar Panel (6V/5W) | ₹300 – ₹500 |
| Lithium-ion Battery | ₹250 – ₹400 |
| Buck Converter | ₹100 – ₹200 |
| USB Module | ₹50 – ₹100 |
| Diode and Wires | ₹50 – ₹100 |
| Soldering Essentials | ₹300+ (one-time) |
Total Estimated Cost: ₹800 – ₹1200
Safety Precautions
- Never expose batteries to excessive heat.
- Use insulated wires and check all connections before testing.
- Avoid water or moisture contact with the circuit.
- Charge only small devices like phones, not tablets or power banks.
Applications of a Solar Phone Charger in India
- Rural households with irregular power supply
- Trekking, camping, or emergency travel
- Backup charging for school children’s phones during exams
- Educational science projects in schools and colleges
FAQs – DIY Solar-Powered Phone Charger
Q1. Can this charger power a tablet or laptop?
Q2. What happens on cloudy days?
Q3. Can I use any type of battery?
Q4. Is soldering necessary?
Q5. Can I charge multiple phones at once?
Final Thoughts
Making your own solar-powered phone charger is not only a fun weekend project but also a smart step toward energy independence. It’s a small but powerful way to embrace clean solar energy, especially in India where sunlight is abundant. Whether you’re a student, a DIY enthusiast, or someone living in an area with frequent power cuts, this project is worth your time.
Author- Ayush